Curated Collection of Diverse Products
How to Start a Hydroponics System for Five Dollars or Less
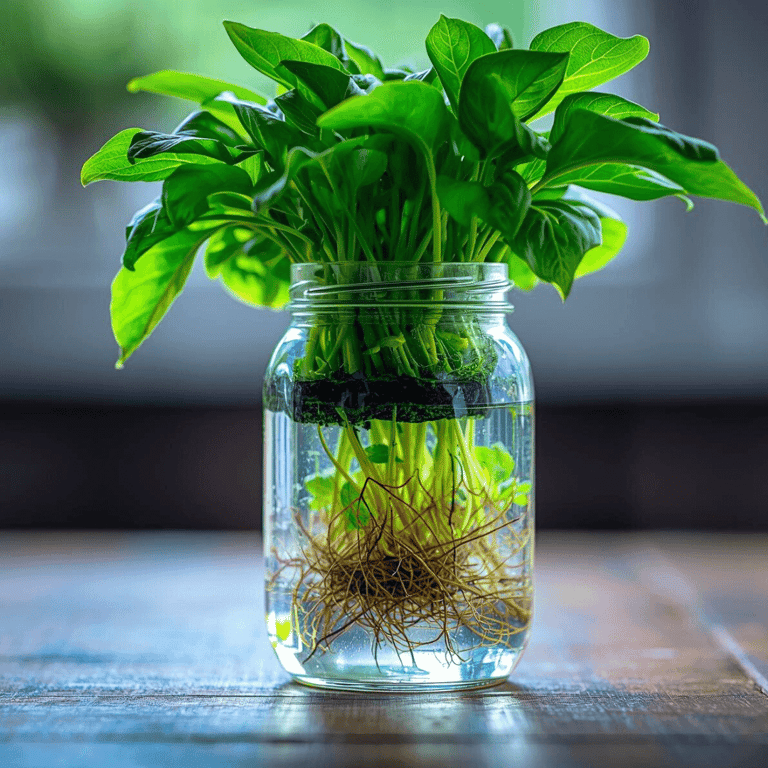
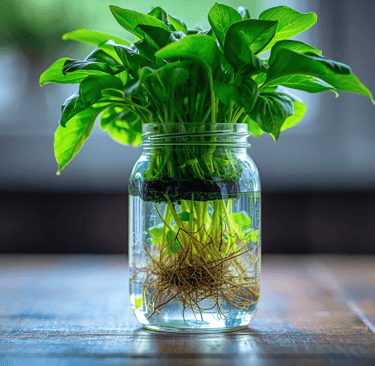
Are you curious about growing your own fresh herbs and veggies, but think it’s too expensive? Good news: you can start a simple hydroponics system for $5 or less! Hydroponics is a method of growing plants without soil, using water and nutrients instead. It’s perfect for small spaces, and you don’t need fancy equipment to get started. Here’s a step-by-step guide to building your own budget-friendly hydroponics setup:
HYDROPONICS
Arthur Comer
9/8/20252 min read


What You’ll Need
1 clean plastic container (like a recycled water bottle or food container)
1 small net cup or a homemade alternative (a yogurt cup with holes poked in the bottom works!)
Growing medium (cotton balls, sponges, or even perlite if you have it)
Seeds (lettuce, basil, or spinach are great for beginners)
Liquid plant fertilizer (look for a small sample bottle or use a few drops of all-purpose liquid fertilizer)
Tap water
Total cost: $0–$5, depending on what you already have at home!
Step 1: Prepare Your Container
Cut the top off your plastic bottle or container. If using a bottle, invert the top to create a funnel shape and place it inside the bottom half. This will hold your net cup or homemade cup above the water.
Step 2: Make Your Net Cup
If you don’t have a net cup, poke several holes in the bottom and sides of a small plastic cup or yogurt container. This allows the roots to reach the water.
Step 3: Add the Growing Medium
Fill your cup with your chosen growing medium. Cotton balls or sponges work well to support the seed and retain moisture.
Step 4: Plant Your Seeds
Place 2–3 seeds in the growing medium. Moisten it with a little water.
Step 5: Mix Your Nutrient Solution
Fill the bottom of your container with water and add a few drops of liquid fertilizer, following the instructions on the bottle. The water should touch the bottom of your net cup so the medium stays moist.
Step 6: Set Up Your System
Place your net cup with seeds into the container. Put your setup in a sunny window or under a desk lamp. Check the water level every few days and top up as needed.
Step 7: Cover Your Container With An Opaque Material of Some Sort.
Algae thrive on light and nutrients. Prevent algae from competing with your plant for nutrients by preventing light from reaching your nutrient solution. You could also just use an opaque (not transparent) container.
Step 8: Watch Your Plants Grow!
In a week or two, you’ll see sprouts. As the roots grow, they’ll reach down into the nutrient solution. Keep the water level consistent and enjoy watching your mini hydroponic garden thrive.
Tips for Success
Start with fast-growing greens like lettuce or basil.
Change the water and add fresh nutrients every 1–2 weeks.
If you don’t have liquid fertilizer, you can try dissolving a tiny pinch of water-soluble plant food.
Final Thoughts
Hydroponics doesn’t have to be expensive or complicated. With a few household items and a little creativity, you can start growing your own food for less than the price of a cup of coffee. Give it a try and see how easy—and fun—hydroponic gardening can be!
Visit Amazon.com For All Your Hydroponic Needs
ALCJR Enterprises is an Affiliate of Amazon.com
See Disclosure Below!
I'd Love to Hear From You!
Email: arthur@alcjr.com
© 2026. All rights reserved.
ALCJR Enterprises
Affiliate Marketing Disclosure Statement
At ALCJR Enterprises, transparency and trust with my audience are paramount. By the Federal Trade Commission's guidelines, I want to ensure that you, my valued visitors, fully understand my relationship with the products and services I feature.
My Affiliate Relationships with Etsy, Amazon, Vevor, and Others
Some of the links on my website are affiliate links, which means that if you click on the link and make a purchase, I may receive a commission at no additional cost to you. These commissions allow me to continue providing valuable content. Please note that my opinions are my own, and I only recommend products or services that I truly believe will add value for my audience.
Why I Use Affiliate Links
Support My Work: The commissions earned through affiliate links help me maintain the quality and integrity of my content.
No Additional Cost: The price you pay as a customer is not affected by my affiliate partnerships.
Commitment to Quality: I am committed to recommending products that I have either used myself or thoroughly researched.
My Promise to You
I am dedicated to maintaining the trust of my audience. That's why:
I will always disclose my affiliate relationships clearly and openly.
I will provide honest reviews and insights, regardless of any affiliate partnerships.
I will prioritize your interests and ensure that my content remains unbiased and reliable.
Thank you for supporting ALCJR Enterprises. Your trust means everything to me. If you have any questions about my affiliate relationships, please feel free to contact me at alcjr@verizon.net.